Costs · 4 min read
Fencing a Large Property in Multi-Year Phases
Published 4 October 2026
Learn how to plan and budget a residential fence installation over multiple phases to manage upfront costs while securing your property.
Fencing a residential property in the Charleston region is a significant financial investment. Depending on the material, professional fence installation in our area generally ranges from $25 to $75 or more per linear foot. For a standard suburban lot or a larger acreage parcel in places like Summerville or Moncks Corner, a complete perimeter fence can quickly scale into a major capital expense. If your budget does not support the entire project today, dividing the installation into logical phases allows you to secure your yard without taking on high-interest debt.
While phasing a fence is highly practical, it requires deliberate planning. Understanding how contractors price their work and how local regulations impact unfinished projects will help you avoid costly mistakes.
The Financial Math of Phased Installation
It is important to understand that installing a fence in phases will almost always cost more in total than installing the entire run at once. Fencing contractors calculate their pricing based on material volume, labor hours, and mobilization costs. Mobilization includes the expense of transporting crew, equipment, and materials to your property.
When you split a project into two or three phases, the contractor must mobilize to your site multiple times. Each phase may incur a separate mobilization fee, which typically ranges from $300 to $800 depending on the distance and equipment required. Additionally, buying materials in smaller quantities prevents you from receiving volume discounts. However, for many homeowners, paying a slightly higher total cost over two years is preferable to a large, single cash outlay today.
Strategizing Your Fence Phases
To get the most utility out of a partial fence, you must prioritize your immediate needs. Homeowners typically structure their phases based on containment, privacy, or aesthetics.
- Phase 1: Immediate Containment. If you have pets or young children, your first phase should focus on creating a secure, enclosed space. This does not have to be the entire property line. You can install a smaller "dog run" or fence in just the immediate back patio area. This secures your immediate needs for a lower initial cost.
- Phase 2: Side Boundaries. Once the primary containment area is established, the next phase usually involves running the fence along the side property lines to establish boundaries with neighbors. This phase often provides the highest return on privacy.
- Phase 3: Front Returns and Gates. The final phase typically connects the side runs to the front of the house, adds decorative street-facing panels, and installs drive gates or walk gates.
Mixing Materials to Manage the Budget
Another way to phase a fence budget is by mixing materials. You do not have to use the same expensive material for the entire perimeter. Many homeowners install premium, highly visible materials where they impact curb appeal, and transition to budget-friendly materials for the rest of the run.
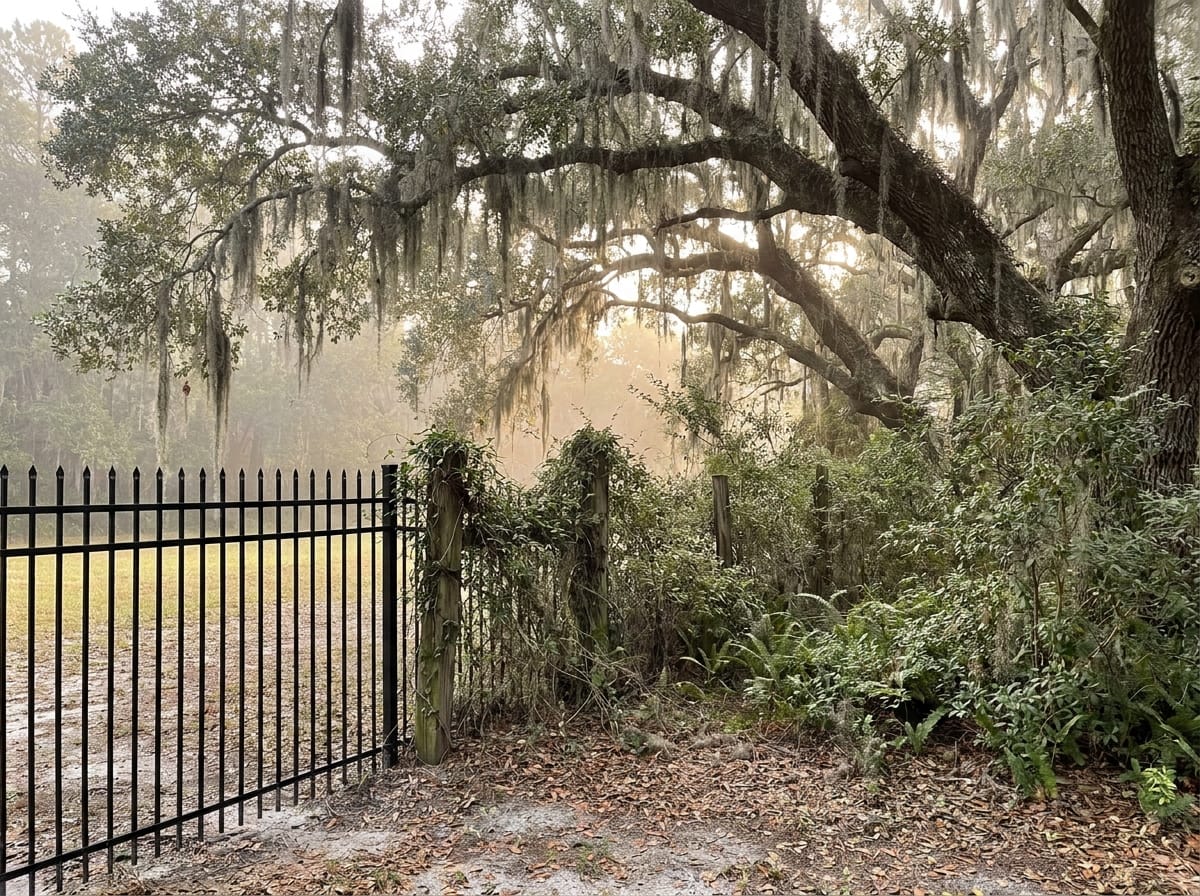
For example, you might install black powder-coated aluminum along the front of your property to maintain a clean, open view. You can then transition to pressure-treated wood or vinyl privacy fencing along the sides to block the view of neighboring yards. In heavily wooded areas or along back property lines that face natural buffers, a simple wood post and wire fence can secure the boundary at a fraction of the cost of privacy panels.
Local Regulatory and HOA Considerations
Before dividing your project into phases, research local zoning laws and homeowner association (HOA) guidelines. Rules regarding fencing vary significantly between municipalities like Mount Pleasant, Summerville, Moncks Corner, and the city of Charleston.
Some HOAs require a fence to be fully completed within a specific timeframe once construction begins, which could limit your ability to phase the project over multiple years. Other associations regulate the mixing of materials or require specific setbacks from property lines that could change how your fence connects from phase to phase. Always submit your complete, multi-phase plan to your HOA or local building department for approval before digging to avoid fines or forced removals.
Planning Ahead with Your Contractor
If you plan to install your fence in stages, communicate this clearly to your estimator during the initial consultation. A professional contractor can design a master plan that ensures the structural integrity of the fence remains intact between phases.
For instance, the contractor will need to properly terminate the terminal posts of Phase 1 so they can easily accept the tension bars, rails, or panels of Phase 2 in the future. Without this foresight, connecting the new sections later may require removing and replacing existing posts, which adds unnecessary labor costs to your second phase.