Process · 4 min read
Timeline for a Residential Fence Installation Day
Published 18 October 2026
Knowing what happens during a fence installation helps homeowners prepare their yard and schedule for install day.
Knowing what to expect on the day of a fence installation helps you prepare your property and schedule your time. While every job site presents distinct conditions, a typical residential installation follows a consistent pattern from the crew's arrival in the morning to the final inspection before sunset.
Pre-Arrival Preparation and Utility Staking
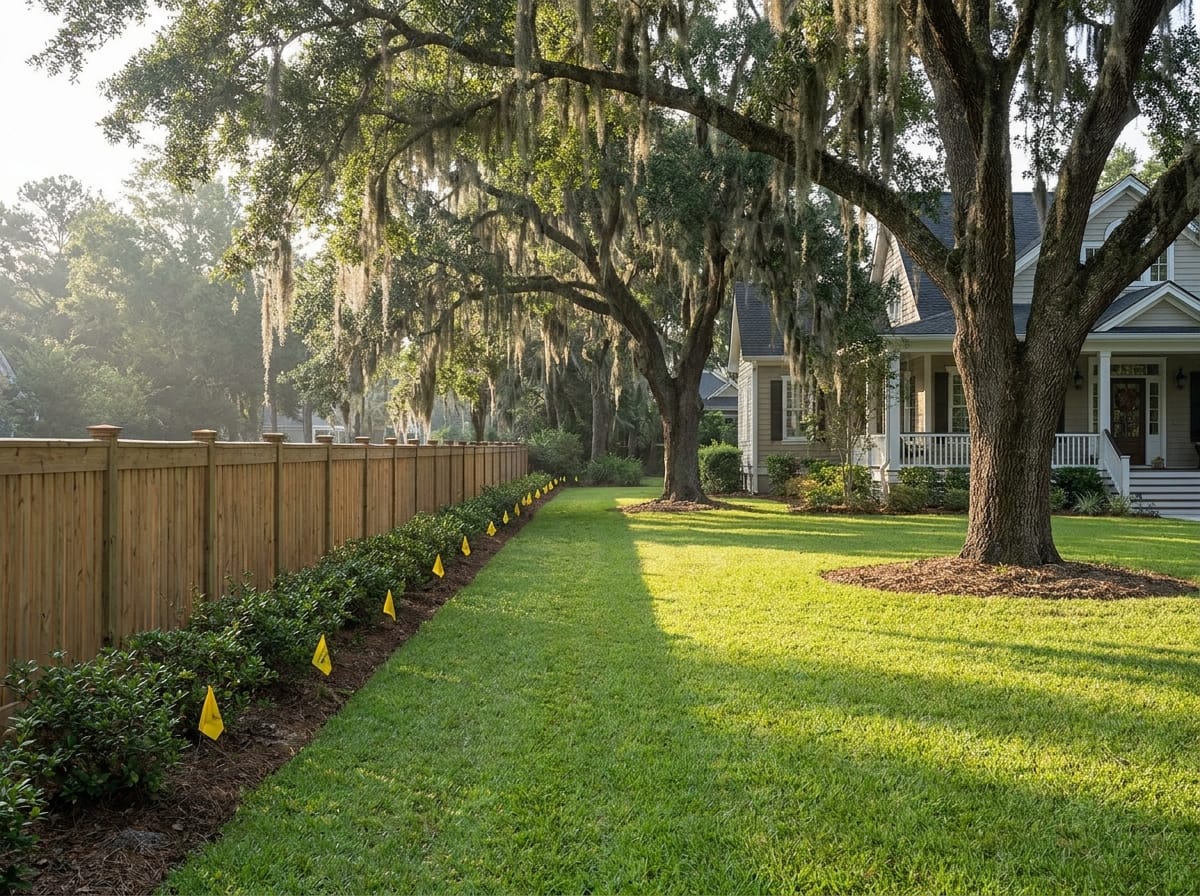
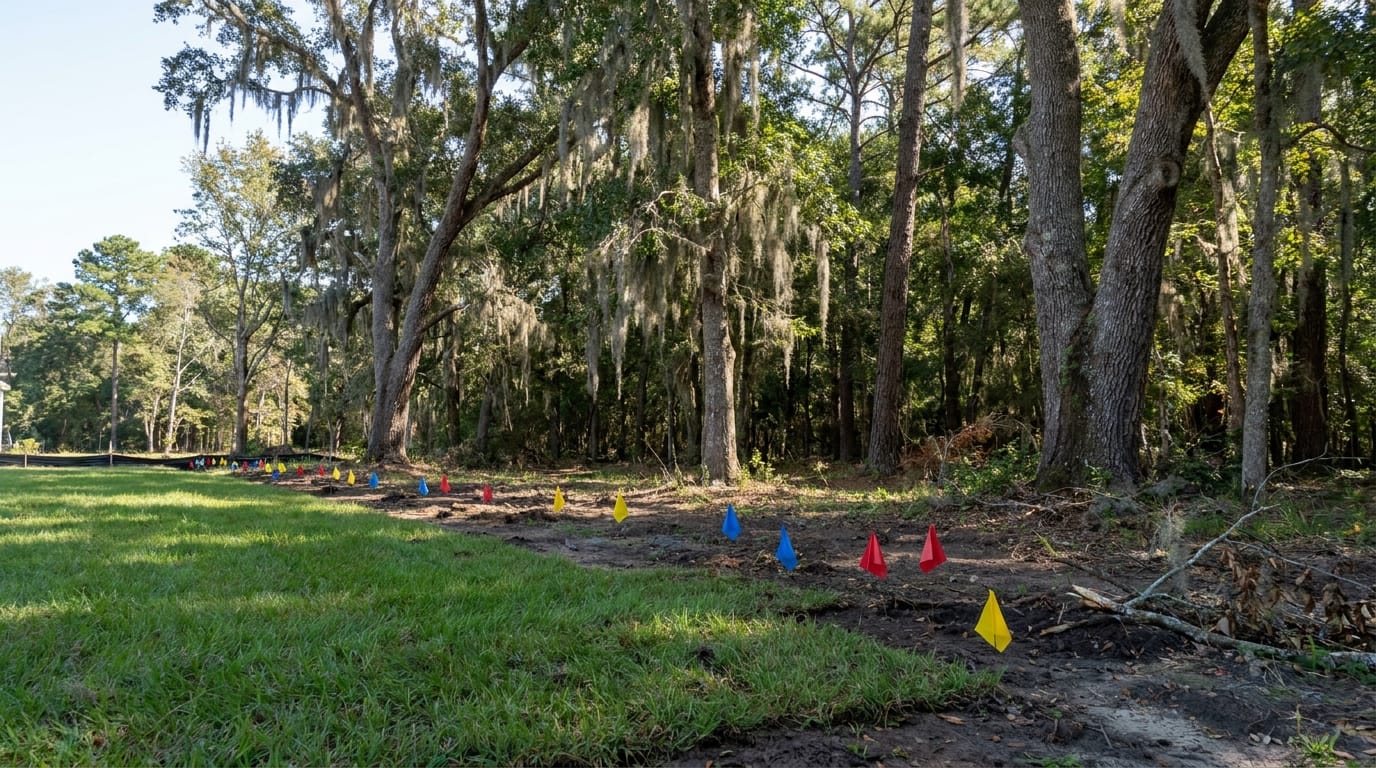
Before crew members arrive on your property, public utility lines must be marked. In coastal South Carolina, underground power, gas, water, and fiber optic lines are identified with colored paint or flags. Private lines, such as irrigation pipes, low-voltage landscape lighting, or invisible dog fences, are not marked by public locator services. Identifying these private lines remains the homeowner's responsibility prior to digging.
Local building codes, property line setback requirements, and HOA rules vary significantly across Berkeley, Charleston, and Dorchester counties. You should always verify specific setback rules and approval processes with your municipality and neighborhood association before work begins.
8:00 AM – Arrival and Site Walkthrough
The installation crew typically arrives on site between 7:30 AM and 8:30 AM. The lead installer begins by introducing themselves and walking the proposed fence line with you.
During this initial walkthrough, several details are confirmed:
- The exact location of property corners and stake lines
- Gate locations, swing directions, and latch placement
- The planned height and style of the fence
- Any known underground obstacles, tree roots, or drainage pathways
This step ensures everyone agrees on the layout before any earth is moved or materials are unloaded.
9:00 AM – Layout, Measuring, and Post Hole Digging
Once the plan is confirmed, the crew runs string lines to establish straight runs and proper height reference points. Accurate measurement at this stage prevents crooked lines or uneven fence tops later in the day.
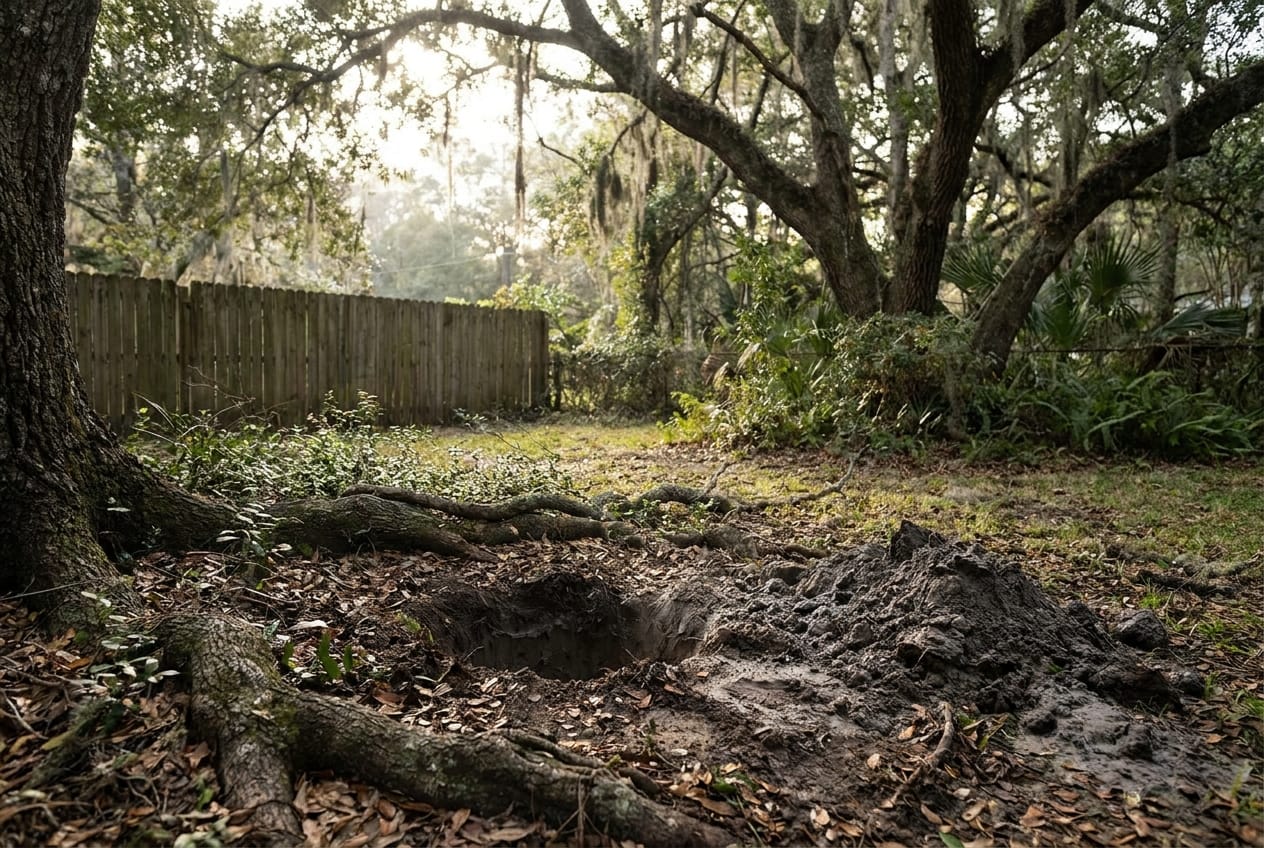
Digging post holes begins shortly after stringing lines. Installers use manual post-hole diggers, power augers, or hydraulic equipment depending on access and soil conditions. Lowcountry soil ranges from soft sand to dense, wet clay or heavy root systems near oak and pine trees. Difficult soil or heavy root networks can extend the time required for hole excavation. Holes are dug below standard depths to provide adequate support for the weight and wind load of the structure.
11:00 AM – Setting the Posts in Concrete
Posts serve as the foundation of the fence. After the holes are cleared of loose dirt, installers set the corner, end, and gate posts first. These load-bearing posts are leveled carefully in all directions using spirit levels.
Concrete is mixed and poured around each post. Depending on soil moisture and temperature, high-strength concrete or fast-setting formulas are used. The crew allows the concrete to set so the posts remain plumb while the rest of the structure is built. For vinyl or aluminum systems, posts are placed precise distances apart using specialized spacing tools to ensure prefabricated panels fit accurately.
1:00 PM – Installing Framing and Rails
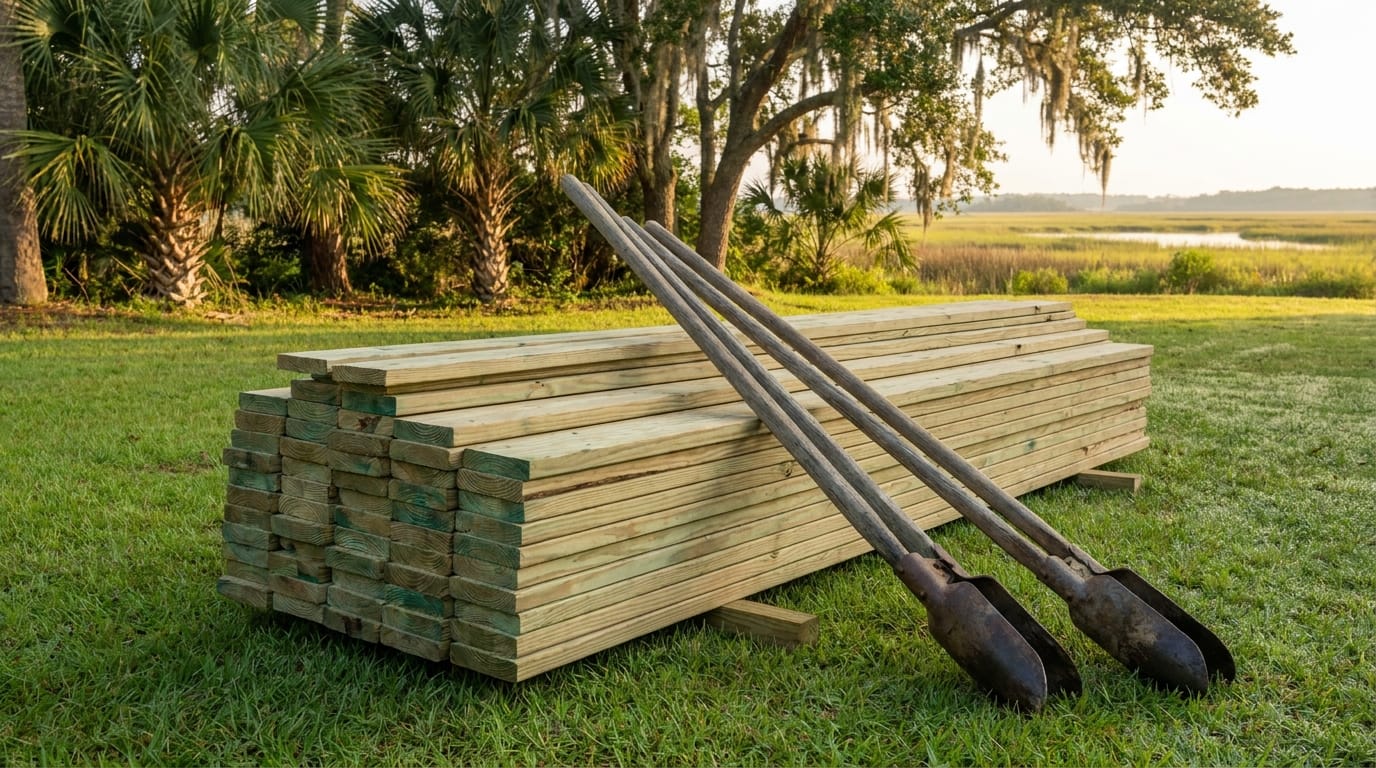
Once the posts are set securely, the crew installs horizontal framework. On wood fences, pressure-treated 2x4 rails are fastened to the posts using exterior-grade screws or galvanized fasteners.
Proper rail alignment is critical. Installers follow the natural grade of the yard or step the panels down slopes, depending on the agreed design. Stepping works well on steeper inclines, while sloped or racked rails keep the bottom of the fence close to the ground to contain pets.
2:30 PM – Attaching Pickets or Panels and Gates
With the structural frame complete, the crew begins attaching individual pickets or pre-assembled panels. For custom stick-built wood fences, each picket is fastened individually, ensuring plumb lines along the entire run.
Gate assembly requires additional care. Heavy-duty hinges and latches are mounted to reinforced posts to prevent sagging over time. The installer checks gate operation multiple times, ensuring smooth latching and adequate clearance over driveways or turf.
4:00 PM – Site Cleanup and Final Walkthrough
As construction wraps up, the crew collects scrap materials, packaging, and tools. Dirt excavated from post holes is typically spread neatly along the fence line or piled in a designated area as requested beforehand. Hauling away excess dirt or debris may involve additional labor costs, which depend on property size and accessibility.
The project manager or lead installer walks the finished fence line with you to inspect the work. You will test gate latches, verify post stability, and review maintenance advice for your specific fence material.
Factors That Adjust the Timeline
Most residential projects under 150 linear feet can be completed in a single day. However, total project timelines range from one to three days based on several variables:
- Severe weather or heavy rain that saturates the soil
- Dense tree root systems or buried debris requiring manual digging
- Complex ground slopes requiring custom stepping or racking
- Extended cure times needed for concrete in high-moisture areas
Understanding these steps helps ensure a smooth installation day and a secure, long-lasting boundary for your home.