Process · 4 min read
Timeline of a Fence Installation Day
Published 28 September 2026
Know exactly what happens in your yard from the moment the crew arrives until the final gate latch is tested.
Understanding what happens during a fence installation can help you prepare your yard, your pets, and your schedule. While every property in the Charleston area presents different challenges, from sandy soil in Mount Pleasant to heavy tree roots in Summerville, most residential fence installations follow a structured, hour-by-hour timeline.
Here is a breakdown of what a typical single-day fence installation looks like from start to finish.
7:30 AM – 8:30 AM: Arrival and Site Walkthrough
The installation crew arrives at your property with the necessary materials, tools, and equipment. Before any dirt is moved, the crew leader will walk the property line with you.
During this initial walkthrough, you will confirm:
- The exact boundary lines where the fence will stand.
- The location of all gates and which way they should swing.
- Any specific obstacles, such as irrigation lines, landscape lighting, or low-hanging branches.
This is also the time to ensure that pets are safely secured indoors and that any outdoor furniture or toys have been moved away from the work zone.
8:30 AM – 10:00 AM: Layout and Utility Verification
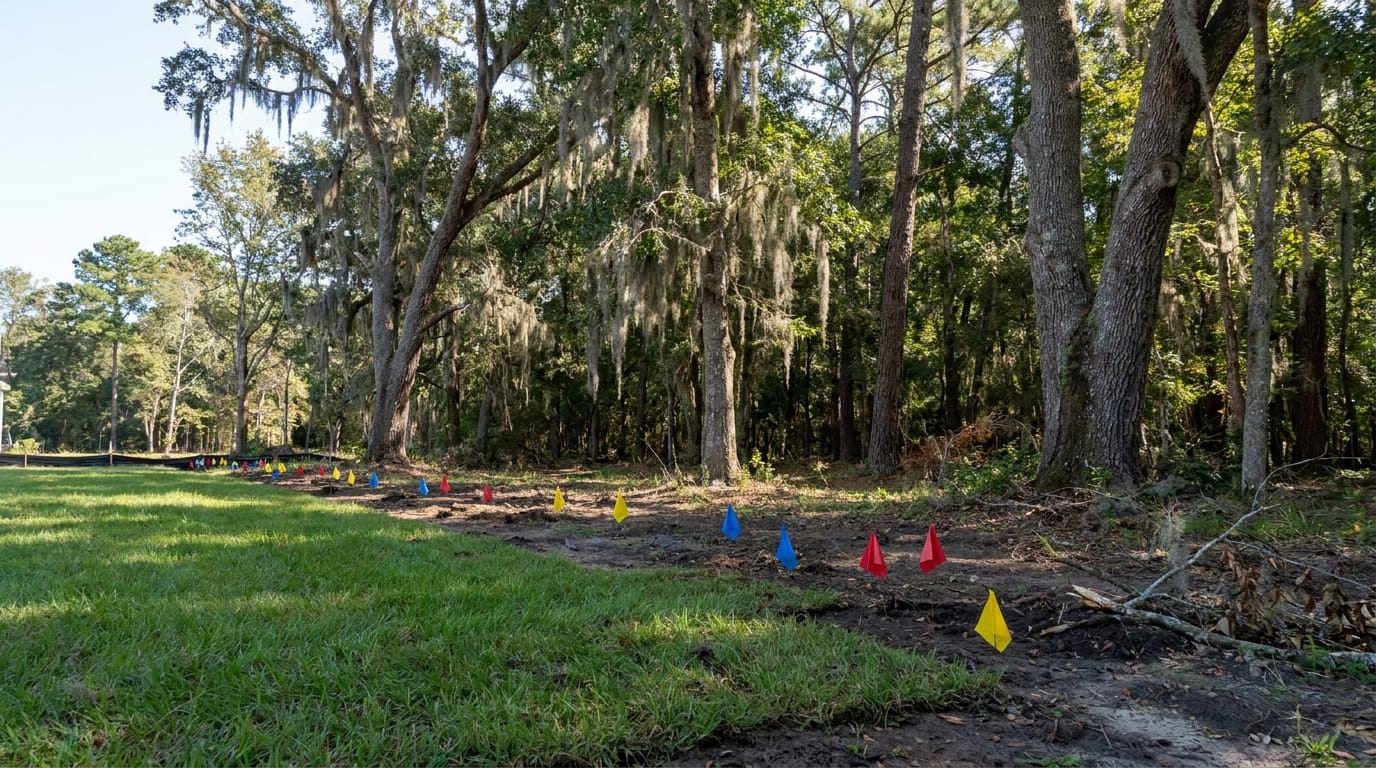
Once the plan is confirmed, the crew begins the layout process. They will stretch high-tension masonry strings between stakes to establish straight lines and correct angles. This ensures the fence runs straight and conforms to your property boundaries.
Before any digging begins, the crew verifies that underground utility lines have been marked. In South Carolina, public utilities are marked via the 811 service, but private lines, such as pool pumps, detached garage power lines, or irrigation systems, are not covered by public locators. You should point these out to the crew during the morning walkthrough to prevent accidental damage.
10:00 AM – 12:30 PM: Digging Post Holes and Setting Posts
The strength of your fence depends entirely on the stability of its posts. The crew will mark the exact location for each post hole, typically spaced six to eight feet apart depending on the material.
Using augers or hand tools, the crew digs the holes. In our region, digging can vary significantly. Sandy soils in coastal areas may cave in and require special sleeves, while inland properties in Moncks Corner or Summerville often present thick clay and dense roots from live oak trees.
Once the holes are dug to the proper depth, the posts are set. For wood and aluminum fences, posts are typically secured in concrete. The crew uses levels to ensure every post is perfectly plumb and aligned before the concrete begins to set.
12:30 PM – 1:00 PM: Midday Check and Lunch
While the post concrete begins to cure, the crew takes a short break. This is a good opportunity for you to step outside and look at the post placement. If you have questions about the height of the posts or the spacing, this is the easiest time to address them before the horizontal rails and pickets are attached.
1:00 PM – 3:30 PM: Framing and Panel Installation
With the posts firmly in place, the crew begins installing the body of the fence.
- For wood fences, this involves nailing horizontal runner rails to the posts, followed by individual pickets.
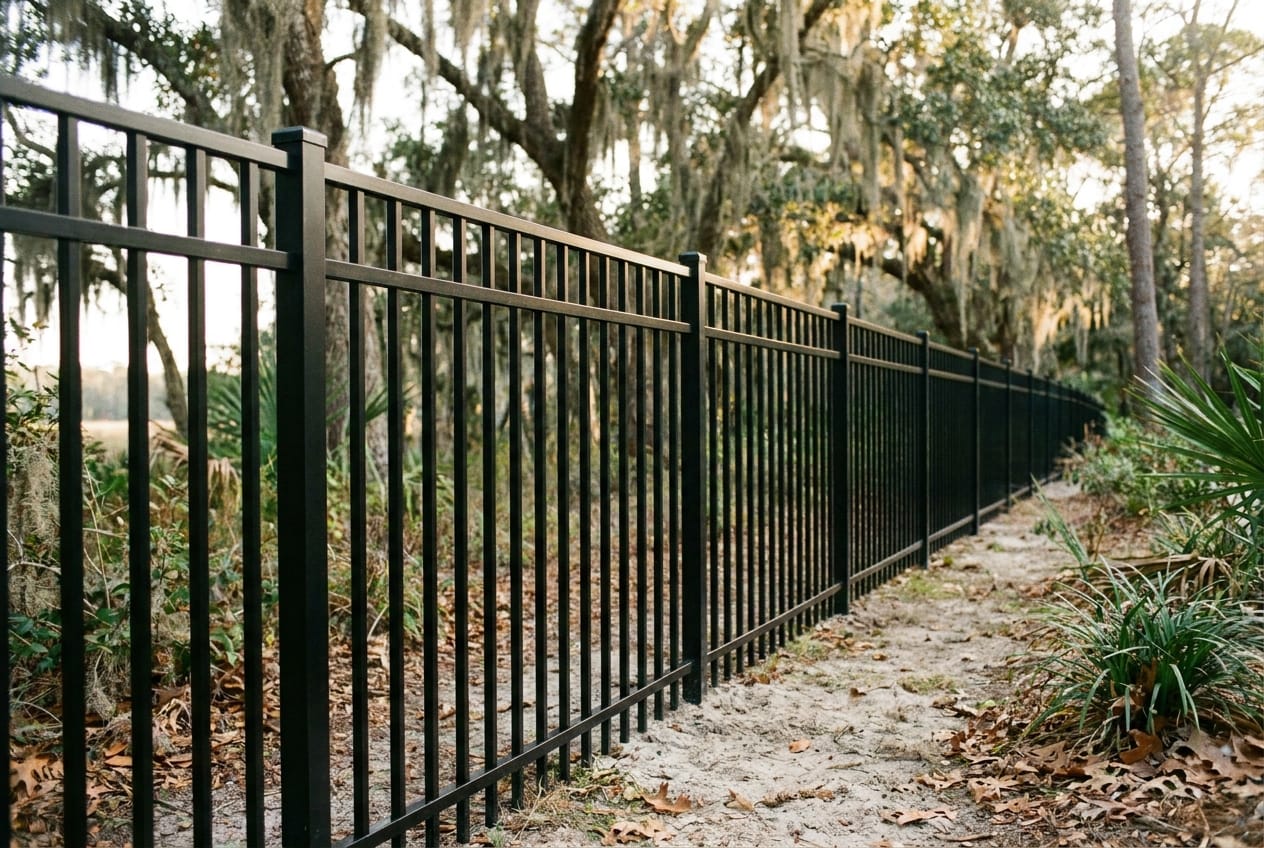
- For vinyl or aluminum fences, pre-assembled panels are slid into place and secured to the posts using brackets or self-tapping screws.
The crew will constantly check that the pickets or panels are level. Depending on your yard's slope, the fence will either be "racked" to follow the contour of the ground or "stepped" to create a stair-step pattern.
3:30 PM – 4:30 PM: Gate Installation and Hardware
Gates are the only moving parts of your fence and require precise installation. The crew will build or hang the gates, ensuring they have the proper clearance to swing freely without dragging on the grass or dirt.
They will install the hinges, latches, and any drop rods. If you have specific pool safety requirements or local HOA guidelines regarding gate latches, ensure you have discussed these beforehand so the hardware is mounted at the correct height. Note that local municipal codes and HOA rules regarding gate self-closing mechanisms vary, and you should check your specific local guidelines.
4:30 PM – 5:00 PM: Clean Up and Final Walkthrough
A professional installation ends with a thorough cleanup. The crew will gather any leftover material scraps, empty concrete bags, and debris. They will rake the soil around the new posts to leave the area neat.
Finally, the crew leader will ask you to join them for a final walkthrough. You will test the gates together, inspect the alignment of the panels, and confirm that the project meets your expectations. Once you are satisfied, the crew will pack up their tools and depart, leaving you with a completed, functional fence.